Build Better Alignment With Zhan Zhuang
Find Steadiness Without Turning the Stance Into a Struggle
Many beginners can copy the outward shape of a standing posture, yet still feel pressure in the thighs, tightness in the shoulders, or a restless urge to stop after a short time. The usual problem is not a lack of determination. It is often a matter of alignment.
Zhan Zhuang Meditation asks the body to stand with attention while the mind becomes quieter. In traditional Chinese martial arts, this practice is not about forcing stillness. It is about learning where the body is holding unnecessary effort, then replacing that effort with clearer structure. A stable stance should feel awake, rooted, and breathable rather than rigid.
For beginners, the aim is modest and practical: stand in a balanced position, notice tension before it spreads, and make small corrections without losing calm attention. Students who also study Tai Chi often find that standing work clarifies their weight shifts and posture. Those interested in breath-led practice may also benefit from learning how Qi Gong uses relaxed attention and steady structure.
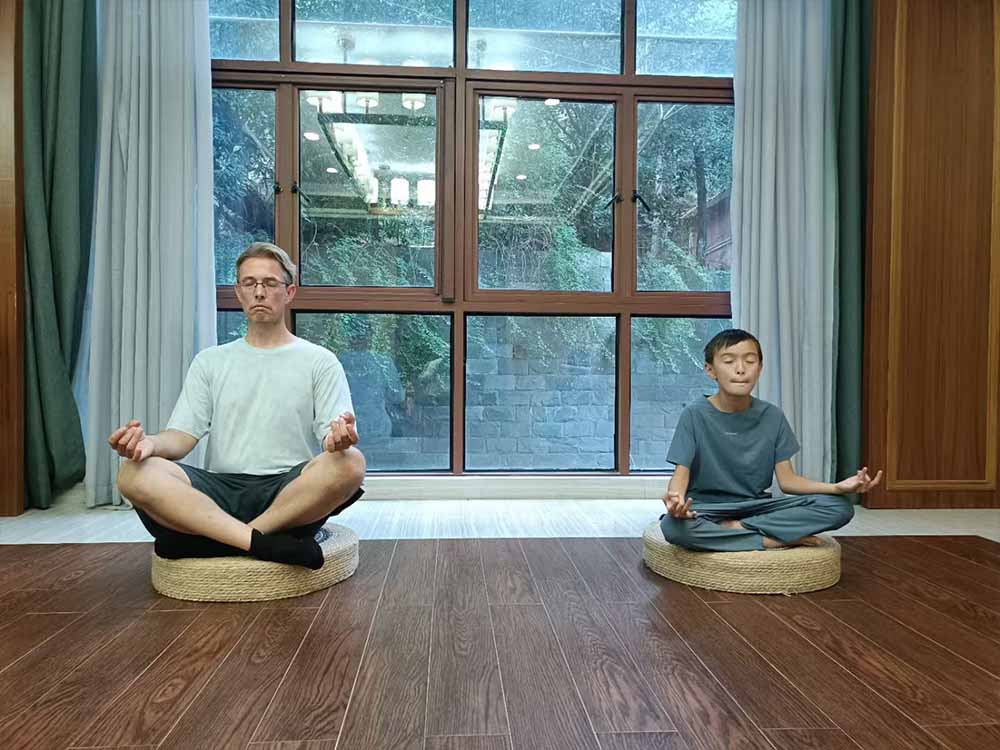
At SJF Kung Fu School, standing practice is taught as part of a wider traditional curriculum that includes Tai Chi, Qi Gong, Shaolin Quan, San Da, Qin Na, Ge Dou, Chinese Weapon training, and Meditation. Master Shen Jiangfei, a descendant of Liuhe Quan and the 11th-generation inheritor of Chen-style Tai Chi, guides students to begin with details that are easy to overlook: foot pressure, knee direction, pelvic position, and the release of the shoulders.
Do not try to achieve a perfect-looking posture on the first day. A useful stance is one you can observe, adjust, and leave without pain.
Prepare Your Practice Space and Starting Position
Before adjusting the body, remove avoidable distractions. You do not need equipment, a special uniform, or a large training room. You do need enough clear floor space to stand without worrying about furniture, a stable surface under your feet, and clothing that does not pull around the hips or shoulders.
Practice in flat shoes or barefoot if the floor is clean and secure. Avoid thick, unstable footwear because it can hide whether weight is spreading evenly through the feet. A mirror can be useful for an occasional check, but do not stare at yourself throughout the practice. The purpose is to develop body awareness, not depend on a reflection.
Starting conditions for early-stage learners
Choose a short practice period: Start with a duration that allows attention to remain clear. Stop before your posture collapses into strain.
Use a quiet visual point: Rest the eyes forward or slightly downward. Do not shut the eyes if that makes you sway or feel unsteady.
Set the feet about shoulder-width apart: “Shoulder-width” is a starting reference, not a fixed measurement. If the hips feel blocked, make the stance slightly narrower or wider and reassess.
Let the arms rest naturally: Beginners may begin with arms by the sides before using a rounded arm position.
Keep breathing ordinary: Do not hold the breath or deliberately inflate the chest. Let inhalation and exhalation happen without forcing a rhythm.
A simple readiness check is this: can you stand for a moment without gripping the toes, locking the knees, or raising the shoulders? If not, make the stance easier before adding arm positions or longer holds.
Students preparing for an in-person Zhan Zhuang practice session can use these same checks before class. Starting with a clear baseline helps an instructor see what needs adjustment instead of trying to correct several compensations at once.
Build the Stance From the Ground Up
Alignment is easier when the body is adjusted in sequence. Begin at the feet because the knees, pelvis, spine, and shoulders respond to what happens below them. Trying to correct the shoulders first often creates more tension because the lower body has not yet found balance.
Place the feet parallel or only slightly turned out. Let them point in a direction that feels natural for your hips. Do not force the toes perfectly straight if that twists the knees.
Spread weight through the whole foot. Feel the heel, the base beneath the big toe, and the base beneath the little toe. These three areas should meet the ground without clawing.
Soften the knees. This does not mean sinking deeply. It means releasing the backward lock so the legs can support the torso with less bracing.
Allow the pelvis to settle. Avoid pushing the tailbone sharply under or arching the lower back. Think of the pelvis as hanging between the legs rather than being pushed forward.
Lengthen the top of the head upward. Keep the chin gently drawn back, not lifted. The back of the neck should feel long rather than compressed.
Let the chest remain unforced. Do not puff it out. As the chest softens, the upper back can broaden and the breath can move more freely.
Release the shoulders downward and outward. Let the elbows hang. If the arms are raised in a rounded shape, keep the hands light and the shoulders quiet.
The successful result is not a dramatic sensation. It is a quieter distribution of work. The legs are active, but the face, neck, hands, and toes do not need to join the effort.
What beginners often mistake for correct effort
| What you feel | Likely cause | Practical correction | When to stop or simplify |
|---|
| Thighs burn quickly | Stance is too low or knees are pushed too far forward | Rise slightly and let the knees track in the same direction as the toes | If discomfort becomes sharp or changes your walking afterward |
| Lower back tightens | Pelvis is tucked too strongly or the chest is lifted | Reduce the tuck, soften the ribs, and shorten the hold | If pain persists rather than easing with a simpler stance |
| Toes grip the floor | Weight has moved too far forward or balance feels uncertain | Feel the heels and lower the arms if they are making you lean | If balance remains unreliable with eyes open |
| Shoulders rise toward ears | Arms are held too high or the hands are trying to “do” too much | Lower the elbows and reduce the size of the arm circle | If neck tension continues after lowering the arms |
| Mind races | Trying to control every detail at once | Return attention to the feet and count a few natural exhalations | If standing creates distress; choose a calmer practice setting or seek guidance |
Use Small Adjustments to Release Tension in Feet, Knees, Pelvis, Shoulders, and Hands
Small adjustments change the posture more effectively than large corrections. When beginners feel tense, they often respond by trying harder. That can create a cycle: more effort leads to more stiffness, and more stiffness makes the stance feel less stable.
Instead, change one area, pause, and observe whether the rest of the body becomes quieter. The table below gives an executable correction sequence for the five areas that commonly create unnecessary tension.
| Body area | Adjustment to make | What you should notice | Common failure reason |
|---|
| Feet | Lift the toes very slightly, then place them down without gripping. Feel pressure shared between heel, big-toe base, and little-toe base. | The soles feel wider on the floor, and the ankles no longer work so hard to keep balance. | Trying to press the feet down aggressively. Ground contact should be clear, not forced. |
| Knees | Unlock them by a very small amount, then check that each knee follows the same direction as its toes. | The thighs remain engaged, but the kneecaps do not feel jammed backward. | Letting the knees collapse inward. This usually shifts pressure into the inner legs and disrupts the hips. |
| Pelvis | Bring the pelvis to a neutral middle position: neither pushed forward nor pulled sharply under. Let the lower abdomen soften. | The lower back feels less compressed, and the torso can rest more naturally over the legs. | Over-tucking to imitate a rounded posture. A forced tuck often creates lower-back and hip tension. |
| Shoulders | Exhale naturally and allow the shoulders to drop. Let the shoulder blades settle without squeezing them together. | The neck feels longer, and the breath does not have to fight against a lifted chest. | Pulling the shoulders back too far. This can harden the upper back and make the arms feel heavy. |
| Hands | Keep the fingers gently separated, as if holding a soft ball of air. If palms face inward, do not flatten or stiffen them. | The forearms feel present but not clenched, and the shoulders stay lower. | Making a tight martial shape with the hands. Early practice needs sensitivity more than display. |
Try the corrections in this order: feet, knees, pelvis, shoulders, hands. The order matters because a tense foot or locked knee may make the pelvis compensate, and a tense pelvis may make the shoulders rise. After adjusting the hands, return attention to the feet. This completes one full posture scan.
A useful internal question is: “Can I remove five percent of the effort without losing my shape?” If the answer is yes, release that five percent. If the shape immediately falls apart, do not force relaxation; rebuild the lower-body support first.
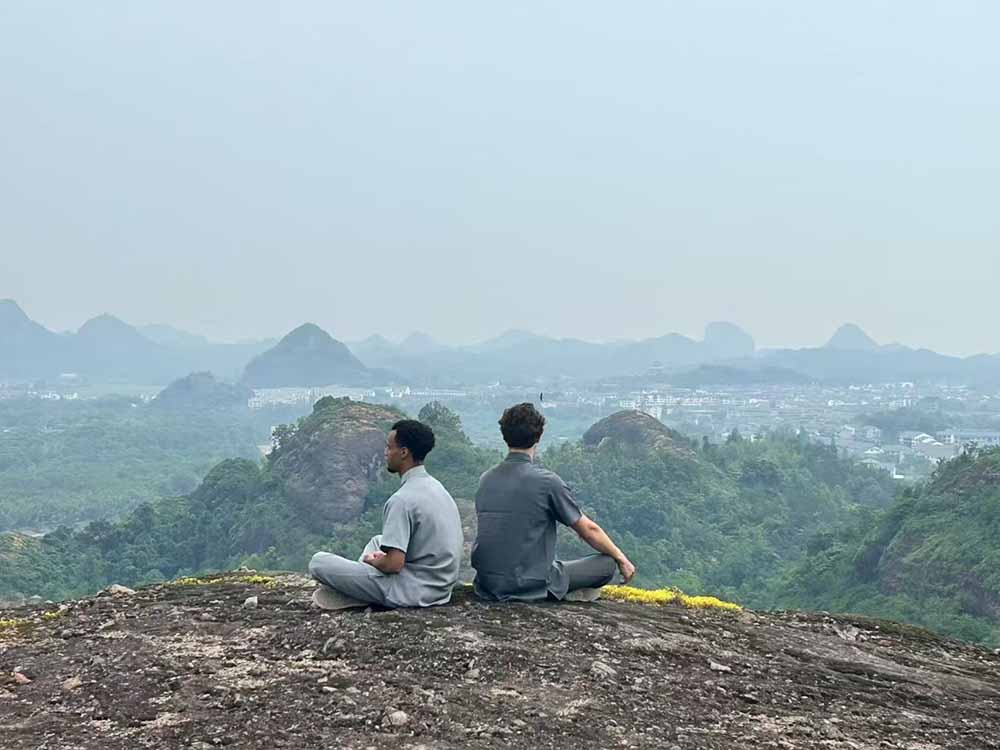
Choose an Arm Position That Matches Your Current Structure
Arm position changes the demand of the stance. New practitioners often begin with the arms raised because it looks familiar, but this is not always the best starting point. If raising the arms causes shoulder tension or a forward lean, use a lower position until the legs and spine feel settled.
| Arm position | Best suited to | How to set it | Limit |
|---|
| Arms by the sides | First practice sessions, tired days, or learners with shoulder tension | Let the hands rest beside the thighs, palms facing inward, shoulders released | Provides less feedback about upper-body tension than raised arms |
| Low rounded arms | Beginners who can stand without gripping the feet | Hold the hands in front of the lower abdomen, elbows softly dropped | Do not raise the wrists so high that the shoulders follow |
| Chest-height rounded arms | Students who can maintain a quiet neck and stable lower body | Keep elbows lower than shoulders and leave space under the armpits | Not suitable when it creates neck tightness, numbness, or a strong forward lean |
The rounded-arm position is often called “holding the tree” in many training settings. The image is useful only if it does not lead to imitation without feeling. A tree does not grip the earth with its leaves. In the same way, the hands should not carry the burden of the stance. The legs receive the weight; the upper body remains connected without hardening.
This distinction matters in martial arts as well as quiet practice. Shaolin Quan, Tai Chi, and other traditional systems require the body to move as one connected structure. Standing practice gives beginners a slow way to notice whether power is blocked by a raised shoulder, collapsed knee, or tense wrist before movement becomes faster.
Check Whether the Posture Is Working Before You Extend the Hold
Do not measure progress only by how long you stand. A longer hold with a locked jaw, gripping toes, and compressed lower back simply repeats poor habits for longer. First check the quality of the stance.
A practical completion checklist
Your feet stay in contact with the floor without toe gripping.
Your knees are soft and follow the direction of the toes.
Your weight does not drift strongly into one leg unless you intentionally chose a weighted variation.
Your pelvis is neither thrust forward nor sharply tucked under.
Your breath remains ordinary and unforced.
Your shoulders do not creep upward as time passes.
Your hands remain alive but relaxed, without clenched fingers.
You can end the stance and walk away without needing to shake out severe tension.
If several points fail at once, shorten the practice and return to the simplest arm position. If only one point fails, work on that link first. For example, when the shoulders tighten after a minute, do not immediately widen the feet or bend the knees more deeply. Lower the arms, soften the ribs, and see whether the shoulders settle.
Andrew Williams of the United States spent 30 days studying Tai Chi, Zhan Zhuang, and Dao Fa with his son at SJF Kung Fu School. He described the training as life-changing for him physically, mentally, and spiritually. His example does not mean every learner will have the same result in the same period. It does show the value of regular guided practice, where standing, movement, and reflection support one another.
Bring the Practice Into Daily Training With Wu De
In Chinese martial arts, Wu De refers to martial virtue. For a beginner, one expression of Wu De is honesty: honestly noticing when the body is braced, honestly reducing the stance when needed, and honestly returning to practice without impatience.
This makes standing work suitable for home practice, class preparation, and quiet reflection. It also gives a useful foundation for students moving toward forms, partner work, or a longer training period. A one month Kung Fu Course can give students more time to connect standing practice with Tai Chi, traditional weapons, and other disciplines under direct instruction.
SJF Kung Fu School is a registered Kung Fu school with certified Shaolin Kung Fu instructors. Its 200㎡ indoor training center gives students a place to practice throughout the year, regardless of weather. Located near the Shaolin Temple and more than 30 nearby cultural and historical attractions, the school offers a setting where physical training can sit alongside respect for Chinese martial culture.
Master Shen Jiangfei teaches that stillness is not emptiness. It is attentive presence. In standing practice, each small correction becomes a form of listening: the feet listen to the ground, the knees listen to direction, the pelvis listens to balance, and the hands listen to the shoulders. Over time, this quiet attention can make movement more economical and the mind less scattered.
If you would like guided help with your standing posture and traditional martial arts training, view the One Week Kung Fu Course and contact SJF Kung Fu School to discuss your starting level.
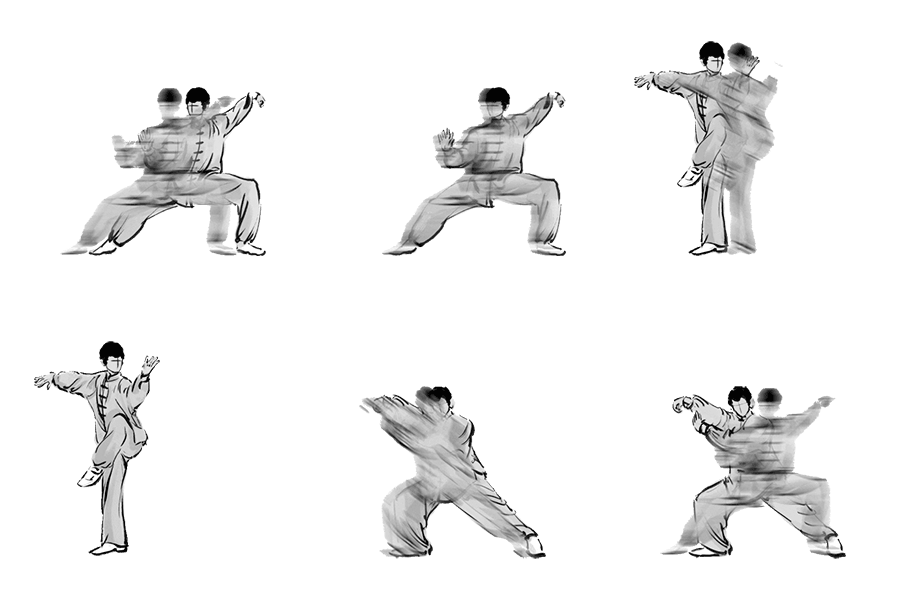



 WhatsApp